Managing Entries
The Entries menu lets you view and manipulate entry information, whether you are using online registration or entering data manually. It's also where you go to import or export data when using other tab programs, such as TRPC, or to see a variety of statistics about your tournament. Also included are functions for dealing with invoices and communicating with registrants.
Via the Entries menu, you can access information about any individual entry, judge, or school. Note that most information pages link to one another - so if you are viewing a judge, it's easy to get to their school's complete entry, or vice versa.
Use the Search Box
Usually, the fastest way to find information in Tabroom is to use the search box in the upper right corner of the page.
For example, if you search for a school's name, you'll be taken right to their entry. If you search for a judge's or entry's last name, you'll be taken straight to their info page. If there are multiple items that match your search, you'll be given a list of results.
You can quickly set the focus to the search box by using Ctrl+S on your keyboard. Then, just type your search and press Enter.
School Info
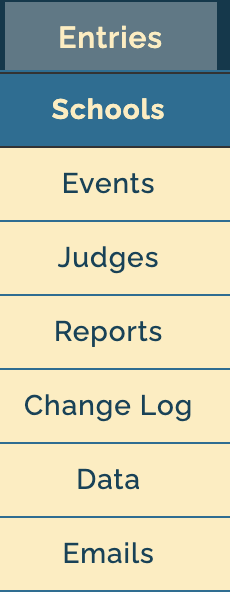
Each school registered for your tournament has it's own page where you can see their entries, judges, vital information, and invoices, as well as mark them as "registered" when they arrive at the tournament. You can access these with the "Schools" menu option.
Accessing a School Page
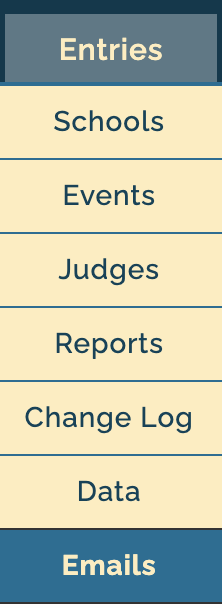
To access a school's page, you select it from one of the dropdown menus:
School's will be listed as"Not In" until they are marked as Registered (that is, on site at the tournament), either by you or by the school (if using "On-Site" registration - see the section on General Settings for more info). Once they are registered at the tournament, they will be in the "In" menu instead.
The Judges and Money tabs will appear in red if a school is under their judging obligations, or if they owe judge fees:
School Info / Registration
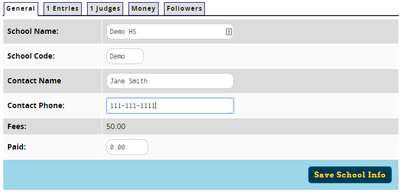
The "General" tab of a school's page lets you edit their basic information, such as name, code and contact information. You can also mark down how much they've paid and mark them as registered:
At the bottom, you will also see information about the school, who originally registered their school and when, and which tabroom accounts have access to their school account, so you know who to contact if necessary:
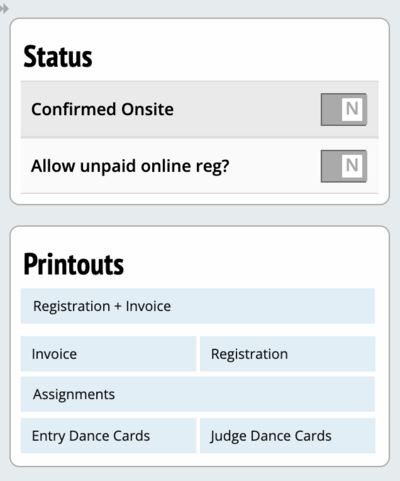
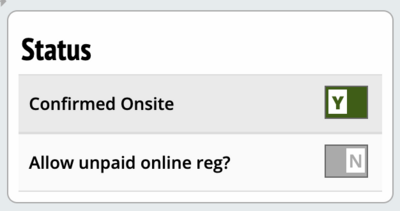
The "Status" section of the sidebar will show whether a school is registered (i.e. physically at the tournament) or not.
If "on-site" registration is enabled, a school can mark themselves as registered, otherwise you can do it at registration as school's arrive. To register a school, choose whether to mark them "Registered" or "Registered and Paid." The latter will automatically change the amount under "Paid" to match their total fees. If you accidentally register a school, you can click the "Un-register" link instead.
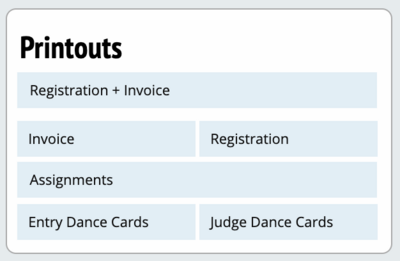
The sidebar contains links for a number of useful printouts that can be used at registration, such as entry sheets, invoices, or judge assignments.
To drop the entire school's entry permanently, use the "Drop Entire Entry" link - you will be prompted to confirm first.
Accessing School Entries
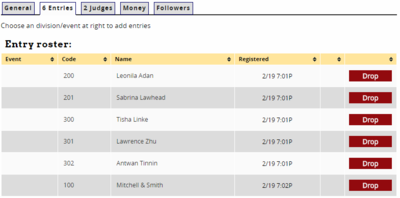
The "Entries" tab of a school's page will first show you the school's complete entry roster:
To access any individual entry, just click on their name or code. You can also Drop or Undrop an entry by clicking the red button.
For more information on manipulating individual entries, see the section below on the "Events" section.
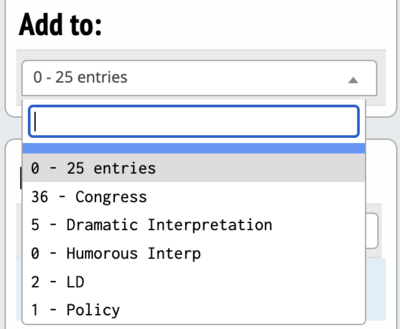
To see only entries in a particular event, click the name of the event on the right (the number is the current number of entries from the school in that event):
Once you have selected an event, you can manually add an entry, either from that school's roster, by entering their name, or just as a "TBA" slot:
Accessing School Judges
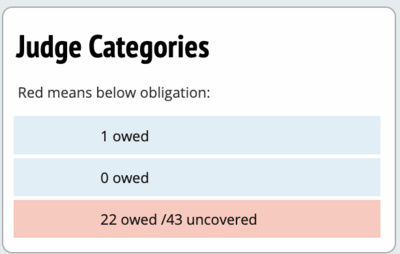
Once you select the "Judges" tab of a school's page, you must then select which judge group to view. If the school is below their obligation in a judge group, it will appear in red:
For each judge group, you will see a list of currently entered judges, with options to change their rounds or delete them:
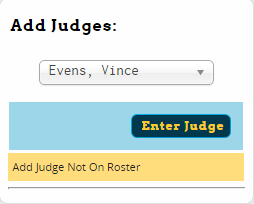
You can also add a new judge to the school using the box on the right:
Note that for events using the "Rounds Per Entry" burden method, newly added judges will default to a full (maximum) commitment. Make sure to adjust the newly added judges rounds as necessary.
For more information on manipulating individual judge entries, see the section below on the "Judges" menu item.
Money / Concessions
The "Money" tab of a school page is where you go to view a school's invoice, add and remove fees/fines, and record a school's payment.
The Money tab contains an itemized school invoice with all entry fees, judging fees, purchased concessions, and nuisance fines all in one place. It will update automatically as changes are made to a school's entry (for example dropping a team before the add/drop deadline).
Fees or Nuisance Fines can be removed from a school's invoice by pressing the "Forgive and Forget" button next to each charge. Note that after deletion, no record of that charge will remain on the invoice.
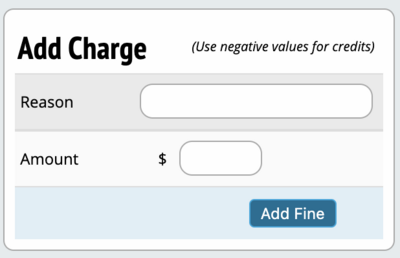
To add additional charges or payments, use the "Add charges" box on the sidebar. To credit a payment to the invoice, use a negative number for Amount.
If you need a printout of the invoice, for example to hand out at registration (either for entry fees, concessions, or combined), you can generate a PDF using the links on the right:
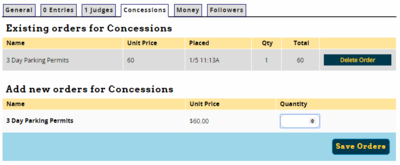
If you have configured concessions available for purchase, you will also see a separate tab for "Concessions," which will let you add or remove concessions orders for a school manually. The charges will then update on the main invoice. You can also print out a separate concessions order for the school with the link on the sidebar.
School Followers
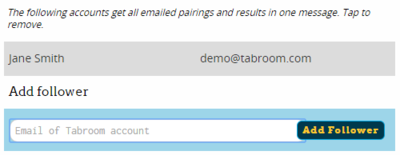
The "Followers" tab lets you add or remove which Tabroom accounts receive Live Updates for the entire school with pairings/results:
Events / Entry Info
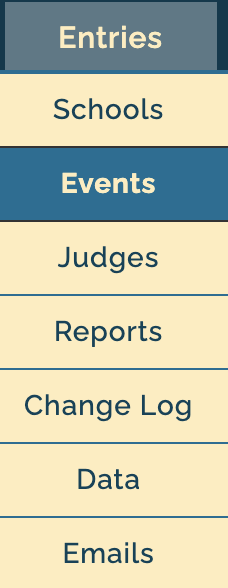
The "Events" menu option lets you access information about individual entries. You can also get to the same place by going through the entry's School page, or by accessing their information directly from the schematic. Whichever way you get there, you end up at the same page.
Entries Overview
After selecting the "Events" menu option, you will see a list of events at the tournament, including the number of active entries, drops, and waitlisted entries in each event:
To access the list of entries in an event, just click on the event name.
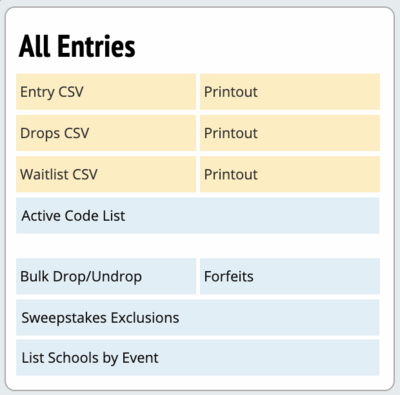
If you want a spreadsheet or PDF with all the entry information (or just drops/waitlist, etc.), a master list of entry codes, or a list of which schools are entered in each event, you can use the links on the sidebar:
Once you have selected an event, you will see a list of entries in that event:
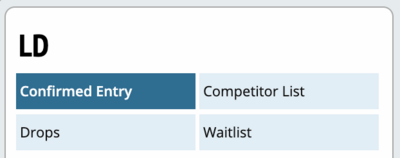
You can switch to viewing drops or waitlisted entries by choosing the option on the sidebar:
To view an individual entry's information, click on their name or entry code.
Editing An Entry
Once you have selected an individual entry, you can make a variety of changes:
You can manually change their entry name or code, mark whether the entry needs an ADA room, and view their preset seed (if in use). You can also make changes to an individual person's information by clicking on their name (for example to fix a spelling error).
Swapping An Entry
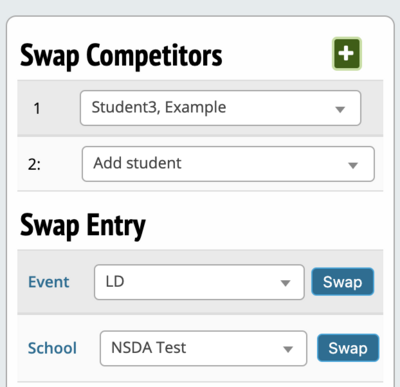
Using the tools on the sidebar, you can make a variety of swaps for an entry:
To change which student(s) are part of an entry, use the "Swap Students" section and choose a different student from the school's roster in the drop-down list. If they don't appear in the list, you can use the link to "Add competitor not on roster."
Important Note - When swapping a student in an entry, do NOT click on the person's name in the entry information and then edit it there. That will make changes to that person's record on the school's student roster, and should only be used to fix things like a spelling error. If you want to REPLACE a student with someone else, use the "Swap Students" section instead.
You can also choose to swap an entry into a different event/division (for example moving an entry in Open down to JV), or switch which school an entry is affiliated with.
Dropping An Entry
To Drop or Disqualify an entry, use the "Wreak Havoc" section on the sidebar:
Dropping an entry does not automatically remove them from any pairing on which they currently appear (such as rounds in which they have already competed or presets), so you may also need to manually change the schematic to remove them. However, a dropped entry will not be placed on any future schematics.
Once you have dropped an entry, you can un-drop them by using the link on the sidebar, or completely delete them from the system by clicking "Completely Delete." You should rarely need to completely delete an entry - it's usually better to leave them in the system as a drop so there's a record of what happened and when.
You also have the option of Disqualifying an entry. In debate events, this has the same effect as dropping them. In IE's, it will automatically give one extra rank to each competitor who ranked behind the disqualified entry in their rounds.
Editing An Entry's Results
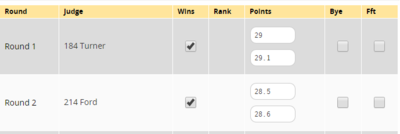
When viewing an entry, you will also see their list of scheduled rounds (with results, if any):
If you click on any opponent, judge, or room, you will be taken directly to that information instead.
To make changes to an individual entry's results, click "View/Change Results" in the Wreak Havoc section of the sidebar:
From here, you can change the result or points for all their rounds at once. Note that most of the time, you'll make changes to an individual round from the schematic (for example to assign a bye or forfeit), rather than accessing an entry's individual results.
Accessing An Entry's Prefs
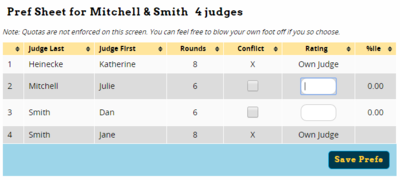
To view an entry's pref sheet, first access their entry information, then click the link for "Pref Sheet" on the sidebar. This will show you the prefs they've entered, and allow you to make changes to it directly. Note that pref quotas are not enforced on this screen, so be careful with any manual changes:
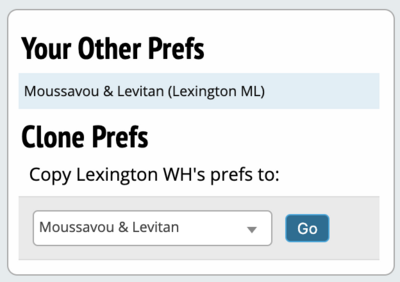
If you want to copy another team from the same school's pref sheet, use the "Clone Prefs" section on the sidebar. Be very careful - once you overwrite a team's prefs, you can't get the original prefs back:
Managing The Waitlist
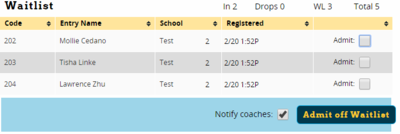
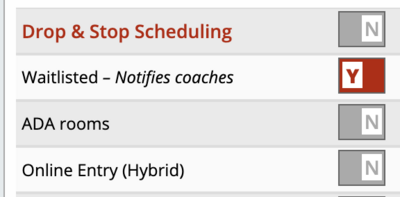
If you have enabled a waitlist for an event, you can manage it by selecting Entries -> Events, choosing an event, and then selecting "Waitlist" on the right. That will show you the entries on the waitlist, with the option of admitting them (including whether to automatically notify coaches):
When viewing a school's complete entry, waitlisted entries will be listed as "On Waitlist":
If you view a school's entry by event, their entry code will have "Waitlist" at the beginning:
If you view an individual entry on the waitlist, you will see options on the sidebar for admitting that single entry:
Or, you can re-waitlist an entry by clicking "Place on waitlist:"
Judge Info
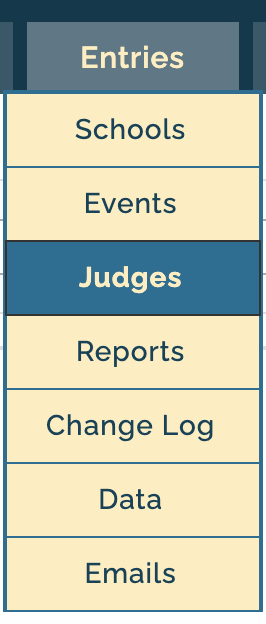
The "Judges" menu option is usually the easiest place to access judge information, though as with entry information, you can access the same page through a school's info or the schematic.
Regions
Housing
Reports
Change Log
Data
Emails
