Pairing Rounds
Pairing/Paneling rounds is done differently depending on the event type. Speech events are paneled using the "Paneling" menu, while Debate events are paired using the Schemats menu. Speech events also typically panel all prelim rounds in advance, while Debate events usually only preset some of the rounds.
Before you proceed to pairing rounds, you should double check all of your tournament settings, especially the schedule. You should also look through your entries and judges for any possible problems, such as an event with too few judges, or a judge that was accidentally entered twice.
Paneling Speech Events
Paneling speech events is mostly done using the "Paneling" menu. You can choose whether to panel all events at once or one at a time, and whether to automatically assign rooms when you panel the round, or separately afterwards. You also have the option of whether to panel all prelim rounds at the same time, or you can panel each round one at a time.
Paneling Speech Prelims
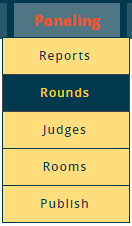
To get started paneling prelims in Speech, use the "Rounds" menu item. You will then be given the option to panel all speech events at once (recommended), or one at a time:
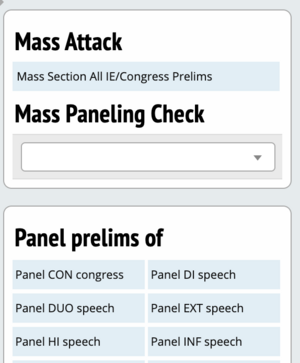
If you choose the "Mass Attack" option, you will see a list of events, where you can choose the number of sections to create. Tabroom will try to evenly distribute entries through the number of sections you choose - so the more sections you use, the smaller the average section size will be.

Make sure the "Do?" column is checked for each event you want to panel, and choose whether to let Tabroom auto-assign rooms at the same time, then click "Panel All Events."
You will then see a progress report on the screen as Tabroom panels each round. When finished, you will be given the option to run a disaster check (explained in more detail below), or proceed to paneling judges:
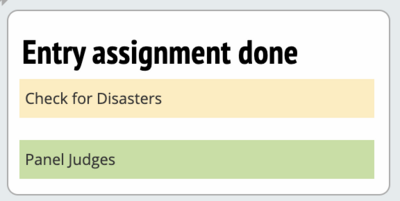
If instead of "Mass Attack," you choose to panel a single event, you will see a similar screen that lets you choose the number of sections to use for each round:

If you need more control over the pairing process, you also have the option of paneling only a single round, direct from the schematic. Use the Schemats menu to view the round you want to pair, then select "Auto Section" from the sidebar to automatically panel that round. You will then be prompted to create the number of sections you want to use, and the auto-paneler will split up students into that number of sections.
Your final option for paneling is to manually create the panels yourself. In most situations, this is unnecessary and more prone to error than using the automatic paneler, but is available if you need it. To use, view the round you want to panel in the Schematics menu, then choose "Hand Assignment" from the sidebar:
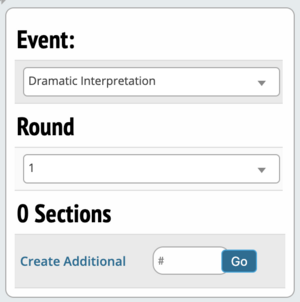
Choose how many panels to create, then click Go. You will then be given a list of entries in the event, and will be asked to choose which panel each entry should be assigned to:

Assign Speech Judges
Once you have created the panels for an event (either all at once or one at a time), you can proceed to assigning judges, using the "Judges" menu option. Then, choose a judge group from the sidebar.
The "Mass Assign" tab lets you assign judges to all events in a judge group at once.
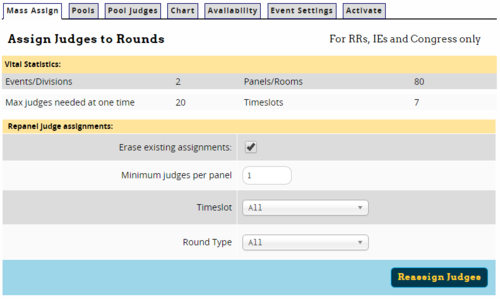
It will show you some statistics about the judge group, then let you choose whether to erase the existing judge assignments, and how many judges should be on each panel (in prelims, this is usually 1). You can then choose whether to assign judges in all time slots and to all rounds, or just a subset, and click "Reassign Judges."
You will then see a progress report as Tabroom tries to assign the judges, Once it's finished, you'll see a message that judge assignments are done, and links to view a disaster check or a chart of judge assignments:

Once your judges are assigned, the Judges menu option also has a number of helpful tabs. The "Chart" tab shows a list of all judges and their assignments for each round:

The "Availability" tab shows you the total number of judges you have available in each round, and the "Activate" tab lets you quickly active/deactivate judges in the judge group all in one place.
The Judges menu option is also where you configure Judge Pools for all events, including Debate events. For more information on judge pools, see the section of the manual on Judge Groups.
Assign Speech Rooms
If you didn't auto-assign rooms during the paneling step, you can assign rooms to a speech event using the "Rooms" menu option, and then choosing a timeslot on the sidebar. The "Mass Assign" tab will show you a listing of current assignments, and the option to auto-assign the rooms in that timeslot:
The Paneling - Rooms menu option is also where you configure Room Pools. For more information on setting up Room Pools, see the section of the manual on Sites & Rooms.
Once you've assigned rooms, there are a few other helpful tabs with room information. The "Chart" tab will show you which rounds are assigned to each room:

The "Report" tab will give you detailed information about each room, including which rounds it's being used, and which room pools it's in.
The "Reservations" tab lets you designate a room for a particular judge. Note that this will make the room unavailable to any other judge, even if the judge it's reserved for isn't judging that round:

Paneling Speech Elims
Unlike prelims, Speech elims are paneled directly from the Schematic. Select the event from the Schematic menu, and then choose the tab for your first elim round. First, view the "Settings" link below the round label:

This will let you double check that your round is configured with the appropriate number of judges per panel, as well as verify you are using the correct room pool, judge pool, and tiebreak set for the elims. Then, click "Auto-Advance to Elim Round" from the sidebar:
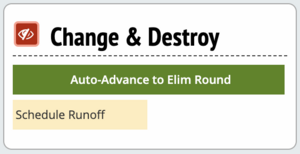
This will show you a list of seeds in order, to help you see where the break will take place:

Then, use the sidebar to choose which round to break from (either the last prelim or the previous elim round), and how many students to break (including how many panels), and click "Break Them:"
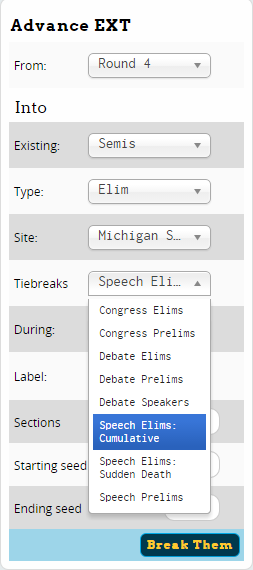
Once you have panels, you can assign judges and rooms the same way you would for prelims - either using the Paneling - Judges menu (make sure to select the correct time block and round), or directly from the schematic.
Publishing And Printing Speech
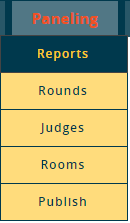
Once you have panels, judges, and rooms, you can publish the round on the web and/or print out schematics and ballots.
If you plan to print physical copies of ballots or other printouts, you can access most of them from the "Reports" menu option, where you can choose the type of printouts you need:
"Printouts" contains options to print schematics, ballots, and a large number of other printouts. If you're looking for a speech-related printout, odds are it's there.
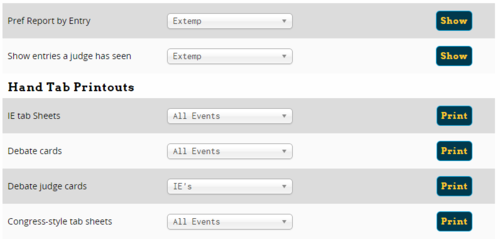
"Tab Sheets" has a variety of diagnostic reports, such as pref reports or a list of which entries a judge has already seen. You can even print out cards if you wanted to tab the tournament by hand:
"Judge Point Averages" lets you see the average speaker points any judge has given throughout the tournament.
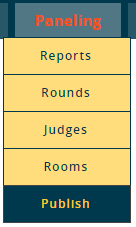
If you want to make speech schematics or results public on the web, you can use the "Publish" menu option. You can then choose whether to select an event or an entire timeslot by toggling the link for "By Division/Entire Timeslot" on the sidebar.
If you select a single event, you can choose for each round whether to publish the pairing or results:
If you choose an entire timeslot, you can publish or unpublish pairings or results for all events in the timeslot at once:
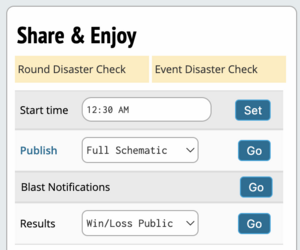
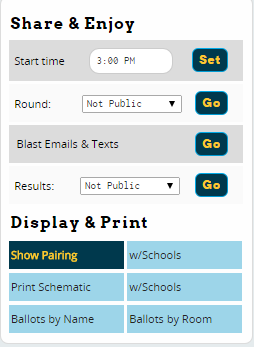
Many of the same options in the "Reports" and "Publish" menu options are also available directly from the schematic for each round in the "Share & Enjoy" section of the sidebar. This section has tools to publish the schematic/results, email/text blast the round to participants, and print out ballots:
Pairing Debate Events

Pairing debate events is done directly from the schematic, which you can access using the "Schemats" menu (listed by event-type). Then, make sure you're on the correct tab for the round you want to pair.
Pairing Debate Prelims
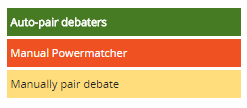
First, choose whether to automatically or manually pair the round:
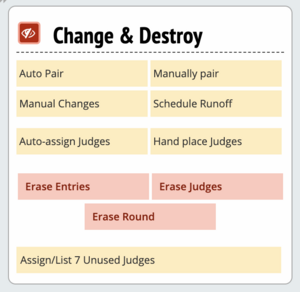
To pair the round automatically, use the "Auto-pair debaters" link on the sidebar. The majority of the time, this is all you need to do to have a finished pairing based on the powermatching or preset rules you've set up in your tournament settings.
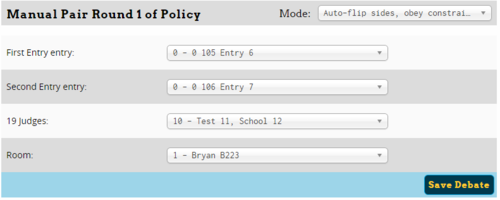
If you choose "Manually pair debate" instead, you then choose a "Mode" for dealing with side constraints, and then choose each entry and judge manually. When you've finished a round, click "Save Debate" and it will move on to the next debate until you have a complete pairing:
If your round is a power-matched debate (i.e. not a preset), you will also have the option to use the "Manual Powermatcher:"
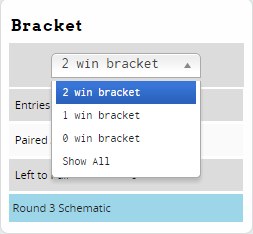
First, choose which bracket to pair from the sidebar (or show all brackets):
Then, click on an entry to find an opponent - possible opponents with a constraint (such as the same school or having previously debated) will be shown in red. To choose an opponent, click the "Choose" button next to the opponent, and they will be paired against the first entry you selected:

For each entry, you can also give a bye or pull them down into a lower bracket. Proceed in this fashion until every entry has an opponent (or bye). Usually, you want to pair the top bracket first, and then the next lower bracket on down. As you create each debate, it will be shown at the bottom under "Current Pairings:"

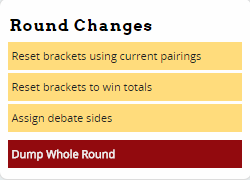
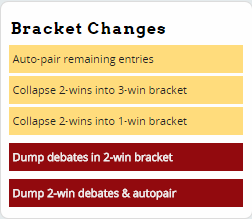
If you make a mistake, you can reset the brackets using the links on the sidebar. Or, you can collapse brackets or auto-pair the remaining debates:
To automatically assign the sides for the debate, click "Assign debate sides."
Pairing Debate Elims
Pairing debate elims is also done directly from the schematic. First, check the "Round Settings" on the sidebar to ensure that you have the correct panel size and round type selected:
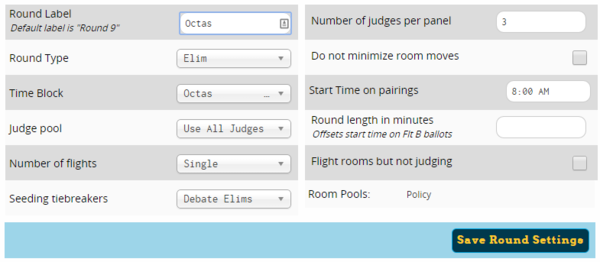
Then, click "Auto-pair break round." You'll be shown a list of seeds in order, to help see where the break will be:

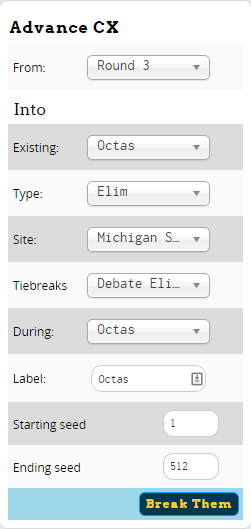
Then, select which round to break from (the last prelim or previous elim), verify the time blocks and tiebreak sets are set correctly, choose the starting/ending seed to break, and click "Break Them:"
Normally, you break entries in a multiple of 8, e.g. 32 for a double, 16 for an octa, etc. This will ensure a full bracket with no byes. If you instead break a different number of entries, Tabroom will take care of pairing the partial elim/runoff, and will assign byes as necessary.
As an alternative to using the auto-pair, you can use "Manually pair debate," which works the same a manually pairing a prelim.
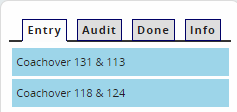
If your elim pairing results in entries from the same school debating each other, and you don't manually "break brackets" to allow both teams to advance, then the ballot entry screen for that round will show up as a "Coachover," which will let you select which entry advances. By default, it will choose the higher seed:
Assigning Debate Judges
Once you have a completed pairing, you're ready to assign judges. The easiest way to assign judges is to use the "Auto-assign judges" link on the sidebar:
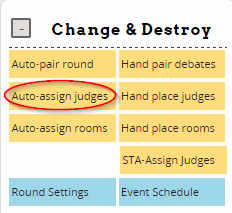
Judges will then be assigned according to the rules you have set in the Judge Group and Event settings. The automatic judge assigner will also attempt to assign rooms automatically at the same time.
If you need to manually place judges, use the "Hand place judges" link instead. You will be shown a list of unused judges available for that round in the sidebar;
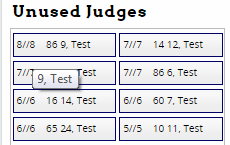
If you drag and drop a judge onto the pairing, you can place them in any round you want. Rounds with a conflict for that judge will be shown in red, and the prefs for that judge will be shown in the rightmost column for each debate. If placing a single judge, put them in the "Chair Judge" column. If you are placing a panel, put one judge as the chair, and the rest under "Other Judges"

If you are using ordinal prefs for an event, then as an alternative to Tabroom's judge placement algorithm, you will also have the option of using Gary Larson's STA judge placement algorithm instead. Click the link for "STA-Assign Judges" and follow the on-screen instructions. This option should only be used by advanced users.
For more information on swapping individual judges or viewing diagnostics on your judge commitments and prefs, see the section below.
Timeslot Merging
You can assign all the judges for multiple divisions at once by combining them together onto the same pairing, placing the judges, and then separating them out. This is useful if you have multiple preffed divisions sharing the same judge pool, and do not want to prioritize one over the other.
To do this, all rounds you want to simultaneously pair must be in the same time slot. Pair all the entries into debates. Then go to any of the schematics for any of the rounds, and go to Settings. Find "Merge Timeslot Rounds" on the left column. The GREEN button will merge the panels for all timeslots into one unified round. You can then place judges and adjust them as you please. Before you place rooms or go forward, go back to the same button and hit the RED button to un-merge the rounds.
Assigning Debate Rooms
Rooms are usually assigned automatically when auto-assigning judges, but you can also assign rooms manually if necessary.
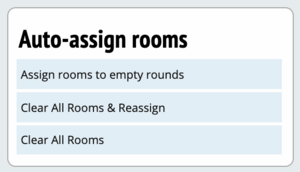
To re-assign room automatically, click the "Auto-assign rooms" link on the sidebar. If you have already manually assigned some rooms, it will only auto-assign the remaining rooms, unless you first delete all the rooms and start from scratch:
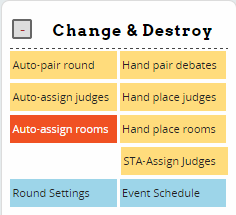
To manually assign rooms, use the "Hand place rooms" link on the sidebar. You will be shown a list of unused rooms:
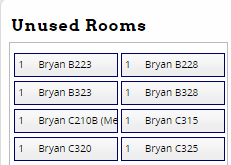
Just drag and drop the room onto the debate you want, and it will be assigned:

Judge Placement Diagnostics
You can see the prefs given to each judge directly on the schematic, or when viewing the full panel after clicking on a judge name or the room number. For multi-judge panels, it will also show you the net pref differential between the two teams.
You can see the number of unused judges in each round under the "States & Data" section of the sidebar:
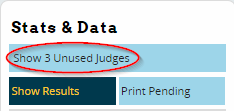
Clicking this link will show you the list of unused judges, with a dropdown for each judge of debates that they would fit in. This can be useful either as a list of standby judges, who you can then easily swap into a debate, or if you know you need to use a judge, to find a round where they will fit.

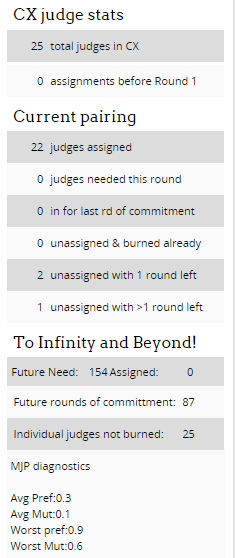
For a more complete list of statistics about judge placement, look on the "Stats & Data" section of the sidebar:
This will show you a variety of metrics to keep track of your current and future judging situation, such as the total number of committed rounds, how many judges you're "burning" (i.e. using their last round of commitment), and diagnostics on the average pref for judges placed in the round.
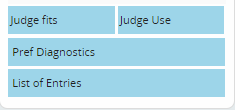
For even more detail, use the links at the bottom of the sidebar:
"Judge Fits" will show you all judges and the number of rounds they fit in, along with information about their commitments.
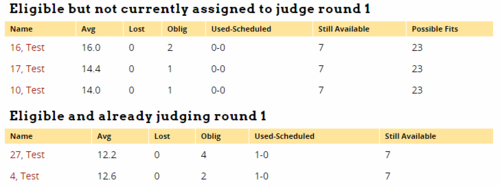
"Judge Use" will help you estimate whether you have a sufficient number of committed rounds to finish the tournament:
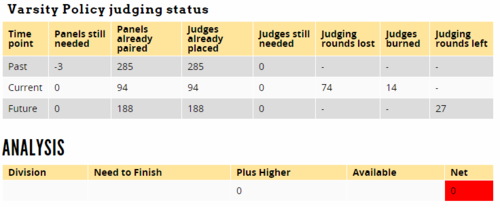
If you have any event with more rounds required than rounds of judging available, then you need to find more judges or beg for additional rounds, or you won't be able to finish the tournament.
"Pref Diagnostics" will give you a readout of how well judges were able to be placed using MPJ:

Publishing And Printing Debate
Once your schematic is complete, with rounds, judges, and rooms, you can publish it to the web or print out postings/ballots directly from the schematic, using the "Share & Enjoy" and "Display & Print" sections of the sidebar. The former has links for publishing the schematic and results to the web, or text/email blasting it to everyone. The latter section is where you print physical postings and ballots:
You can also run a "Disaster Check" for debate events with the link on the sidebar:
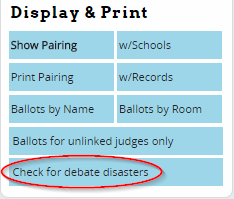
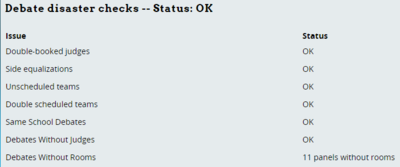
This will show you a report of common problems that could cause a disaster, and will show you if it detects anything wrong:
Double Flighting
To double (or triple) flight an event, you just need to make sure you set the appropriate number of flights on the schedule for that event:

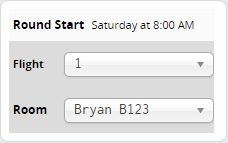
Then, pair and assign judges as normal. The auto-pairing functions will split the round up into flights for you. If you need to manually move a debate between flights, click the room number to view that debate, then use the box on the sidebar to switch flights:
Lag Pairing
To "Lag Pair" a round, (i.e. pair a debate before the round immediately prior has results in), just pair the round normally, before recording any of the results from the previous round. Tabroom will just use whatever results have been entered so far. So, for example, to lag pair rounds 5 and 6 based off the first 4 debates, just wait until all the results have been entered for the first 4 rounds, then pair both rounds 5 and 6 one after another. You should do this before entering partial results for round 5 - otherwise, some teams will have results for that round and others won't.
In practice, lag pairing is rarely necessary, even for fairly tight schedules - Tabroom makes pairing the next round very quick, so it's usually beneficial to wait until all the results from the previous round are in.
Round Robins
To pair a round robin, first make sure you have set the option for "Round Robin format" in Settings - Events - <Event> - Tabulation.
By default, all entries in the event will be considered a single "pod" - so you will need to have the same number of rounds on your schedule as you have teams (since each team debates every other team once, plus a bye round). For example, a 9 team round robin would need 9 scheduled debates in order to pair.
If you want more than one "pod," you first have to go to Entries - Events - <Event>, and then choose "Round Robin Pods" from the sidebar:
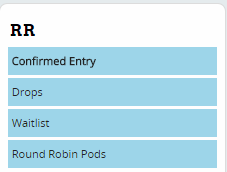
Assign each team to a pod, then click "Save Pod Assignments:"

Optionally, you can assign each pod a name and then click "Save Pod Labels."
Once you have configured everything, the schematic will have the option to "Auto-pair entire Round Robin:"
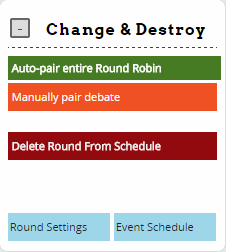
This will pair the entire round robin in advance, with as many pods as you have configured.
If you have elimination rounds, they're configured and paired as normal - when you go to break teams from the schematic into an elim round, you will be shown the seed order for all entries, including their rank in their respective pods, and can choose who to break into the elims.
Manipulating Pairings
The process for manually making changes to a completed pairing is similar for both speech and debate events. Most things you would need to do can be accomplished by clicking on the entry/judge/room you need to change, and then following the on-screen instructions.
Note that if you make a change to the pairing after it has been released (e.g. changing a change), it's usually a good idea to use the "Text/Email blast this section" link on the sidebar to notify everyone involved of the change.
Moving An Entry
To move an entry to a different round/panel, click their code on the schematic.
Moving IE Entries
For IE's, you then need to click "Move" next to the entry you want to move:

You will be shown a list of panels - to put the entry in a round, click "Add." The entry you're moving is shown in blue. Other entries from the same school are shown in red:

To move a different entry instead, click their entry code or use the box on the sidebar.
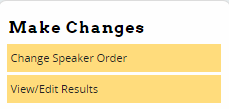
To change the order of speakers in a round, click "Change Speaker Order" on the sidebar and then change the number next to each entry as necessary:
If your panels have become unbalanced (for example, due to drops), you will also see an option on the sidebar for "Manually Rebalance."
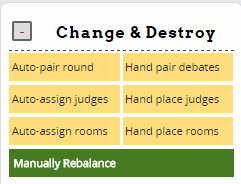
This will show you a list of entries which can safely be moved to smaller panels to rebalance all the rounds - click on their name to move them:

Moving Debate Entries
After clicking their code on the schematic, you will be shown a list of rounds to put them in - clicking on another entry will swap them. The entry you are moving is shown in blue. Entries they have seen before will be shown in orange, and entries/judges from the same school will be shown in red.

To select a different entry to move instead, use the dropdown box on the right:

If you need to create an additional room, for example to add a new round to the pairing, use the "Add More Rooms" box:

Replacing A Judge
To replace a judge, click on their name/code on the schematic. This will show you the current judge, as well as dropdown menus for selecting from either judges who are currently available, or judges who are currently judging (you would then need to find a new judge for that round instead):

Note that both menus will only show you "clean" judges with no conflicts, strikes, etc. The "rds" column will show you the number of rounds that judge has left, the number they've currently judged, and their total commitment. If you are using MPJ, you will also be shown the prefs for that judge from each entry:

To add a judge to the panel, choose their name from the menu.
Once you have added the new judge, remember to remove the old judge from the panel by clicking "Remove" or "RM & Fine" (if you have missed judging fees configured).
If you know you have a judge available who is not listed in the dropdown, you can also use the "Add literally any judge" box on the sidebar:
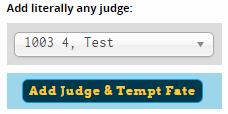
Note that using this option will not prevent you from placing a judge who has a conflict, is struck, or is marked as unavailable - so be 100% sure you can actually put that judge in the debate. Usually, it's much safer to stick with judges in the "Available" menu.
Once you have replaced the judge, you can use the "Text/Email blast this section" link on the sidebar to blast only the entries/judges in that round with the change.
Improving MPJ
If using MPJ, you may want to scan the pairing for non-mutual judges, or judges which fall below a certain preference. For example, you may want to try to manually replace a 4/4, or a 3/2, with a better fit.
Important Note - The majority of the time, Tabroom will do a better job of fitting judges than you would manually, because it can test hundreds of possibilities in a very short time. Oftentimes, trying to manually move judges around to improve MPJ will end up making things worse.
To try and replace a judge, click their name from the pairing, and then use the same procedures described above for moving a judge. The dropdown boxes will show you available judges and their prefs, and let you make a decision about whether to swap in judges.
Changing Rooms
To change a room, click on the room name from the schematic. Then, use the dropdown menu labeled "Room" to switch the room. This menu will only show you "available" rooms that are in the appropriate pool and not scheduled for another round:

If you need to assign a round to a room which does not appear in the normal Room menu (for example because it is normally used for another event and is in a different room pool), you can also use the "Change to literally any room" box on the sidebar:
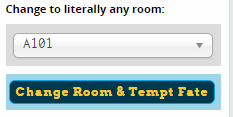
Note that using this option will not prevent you from putting a round in a room that has another round/event scheduled at the same time, or that has been marked inactive or reserved. Make sure you are 100% sure that you're putting the round in the right room.
Deleting A Round
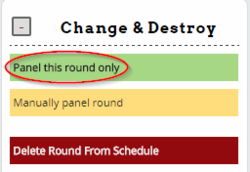
If you made a mistake and need to start over from scratch with a round, you can delete it entirely, or just delete the assigned judges/rooms if you need to reassign them. All of those functions can be accomplished by expanding the "Create & Destroy" section of the sidebar, and looking for the red links:
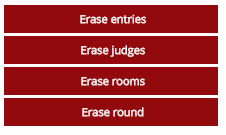
Important Note - If you delete a round after results have been entered, they will be impossible to recover. Once you have results, you should almost always choose to make changes to the existing pairing, rather than completely wipe it out.
If you have not yet paired the round, you will instead have an option to "Delete Round From Schedule" - this will completely remove the round from that event's schedule, and it will no longer be an available tab on the schematics:

If you need to instead delete a single round/panel from the schematic, click on the room number and then use the "Delete This Debate" or "Delete This Section" link on the sidebar.
Publishing Ballots just for Coaches
You can also publish win/loss, ranks, points or ballot comment/RFDs just for coaches to access, not publicly. Click on the "Setting" blue button top center of the schematic you want to publish and check which options you want to publish to coaches on the middle left:
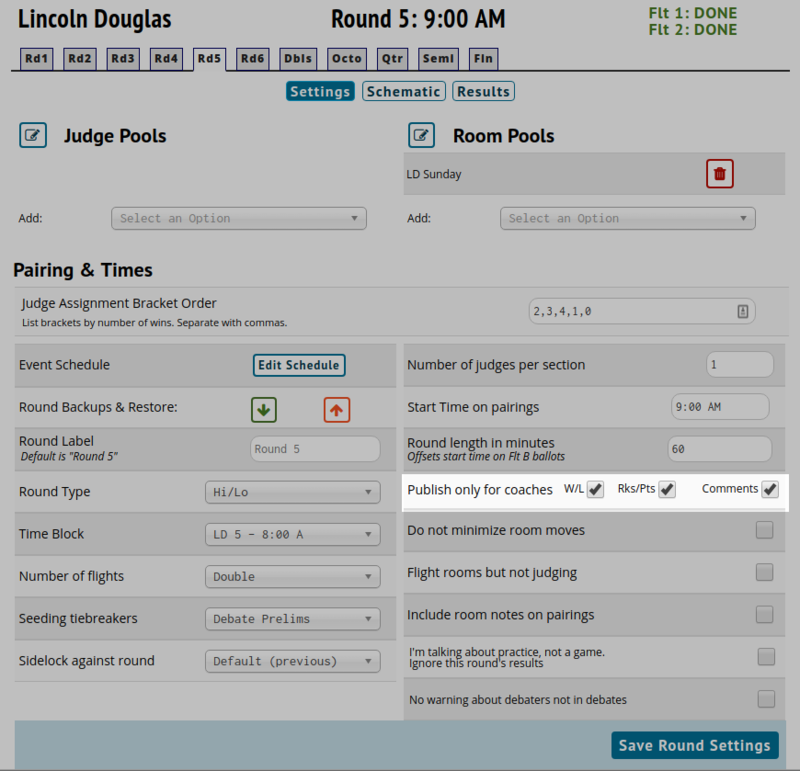
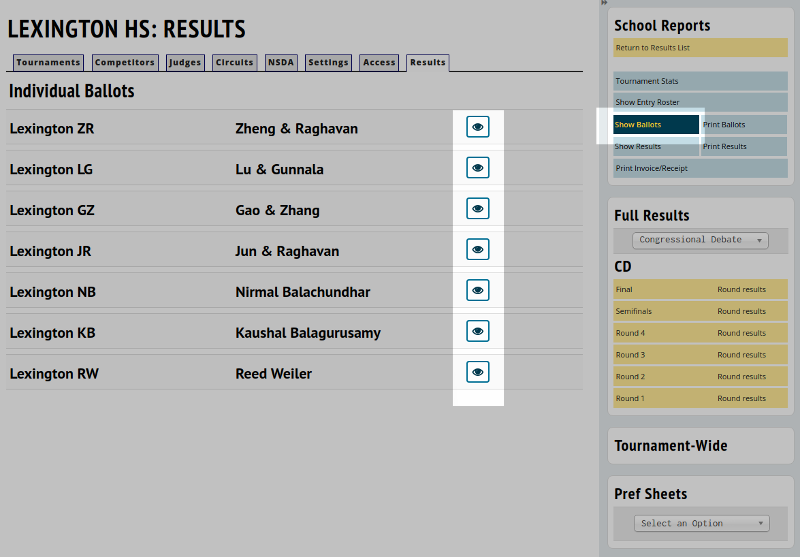
Coaches will then be able to see the results you've posted by clicking on their tournament entry in Tabroom, choosing "results" and clicking "show ballots" at left. This is the ONLY place they are visible to coaches and team admins.
