Website
Each tournament on tabroom automatically comes with a public web address where people can go directly to your tournament information, entries, and results. You set this web address when you initially requested your tournament, and it will look something like this: http://mytournamentname.tabroom.com
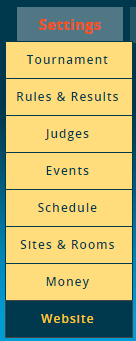
The Website menu controls the information and pages available on your tournament's website, as well as when someone accesses it from one of the Tabroom Calendars.
Some information is available on your website by default, such as the list of events you offer, tournament dates and registration deadlines, and a link for registering entries. You can also use built-in Tabroom features to automatically post entry lists, schematics, and results.
You can also upload an invitation document in the Settings - Tournament - Name & Info menu.
However, if you need to add other custom information to your tournament's website, you can do so in the Website menu.
Important Note - There is usually a brief delay between making changes to your tournament website and when those changes appear on the public website. Try waiting 10-15 minutes after you save your changes.
Standard Pages
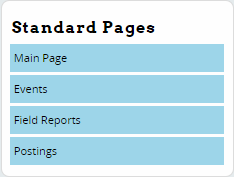
"Standard" pages/tabs that will appear on every tournament website include the Main page, Events, Field Reports, and Postings.
To edit the text that appears on each of these pages, select one from the sidebar:
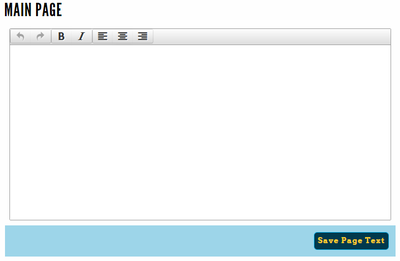
Then, add text to the page and click "Save Page Text:"
Here's a brief description of each of the standard pages:
Main - This text will be the first thing anyone sees when they click on your tournament website. A welcome letter, a tournament invitation, and other critical details are appropriate for this page.
Events - This text will appear next to a side menu which contains links to the descriptions of the events at your tournament, when people first click on the Events tab of the tournament website.
Field Reports - This text will appear next to a side menu which contains links to the field reports of the events at your tournament which you have chosen to publish.
Postings - This text will appear next to a side menu which contains all the postings & schematics you have chosen to make public, when users first click on the Postings tab of the tournament. You can use it to make tournament announcements important to the initial stages of the tournament, or messages prior to when elimination rounds are announced.
Custom Pages
To add a custom page, click the "Add Custom Page" link on the sidebar:
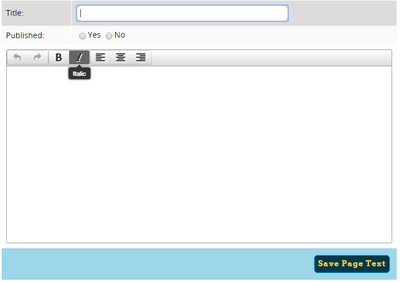
Then, fill out a (short) Title, choose whether the page is published/visible, and fill out some text:
There is no way to delete a custom page after adding it - if you don't want it to be visible, just set "Published" to No.
Postings
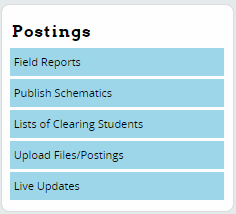
To control additional types of information available on your tournament website, use the "Postings" section on the sidebar:
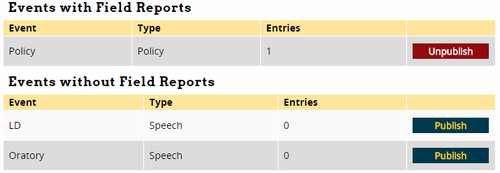
Field Reports are lists of who has entered your tournament in a given event. Click the "Field Reports" link, and then you can toggle whether events have published fields by using the Publish/Unpublish button for that event:
Normally, you will publish each round to the web directly from the relevant schematic. But the "Publish Schematics" link gives you a centralized place to see which rounds are currently public, as well as publish all prelims en-masse if you want to.
For each event, you will see a list of created schematics and a check box for whether they're public:
You can also publish all prelims at once by using the link at the bottom:
Lists of Clearing Students lets you choose whether to publish a list of students participating in each elimination round:
You can also post any arbitrary file/posting that you want to make available to participants, such as event-specific instructions, a restaurant guide, etc. Click the "Upload Files/Postings" link on the sidebar, choose a file, and click Save.
Previously uploaded files will be listed at the top - to delete them, click the Delete File button:
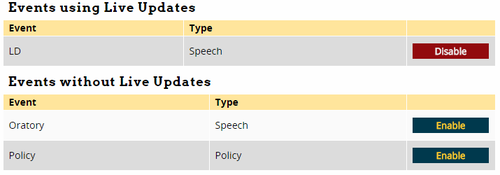
Live Updates controls whether particular events will be available for people to "follow" via the website and receive texts/emails with schematics and results. Click the "Live Updates" link, and you can toggle each event between Enable/Disable:
