Sites & Rooms
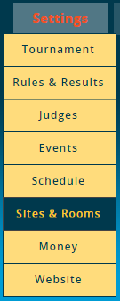
The Sites & Rooms menu is where you enter room lists and configure pools of rooms for different events.
On Tabroom, a "Site" is a grouping of all the rooms at one tournament location, such as a campus or hotel. Odds are, you'll only need one "site," even if you use multiple buildings. You only need to create multiple sites if your tournament is very large and spread over completely different locations (such as two separate high schools).
Once a Site has been set up, it is reusable from year to year - so if you run a tournament on the same campus every year, you won't have to re-enter all the same rooms over and over.
Create a Site
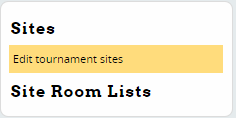
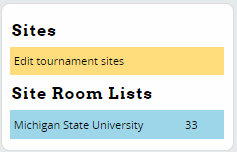
When creating/requesting your tournament, you were given the choice of selecting a pre-existing tournament site from sites in your circuit. If you need to add another one, or create one from scratch, you first need to select the option to "Edit tournament sites" on the sidebar:
You can then select from the list of pre-existing sites in your circuit to add to your tournament:
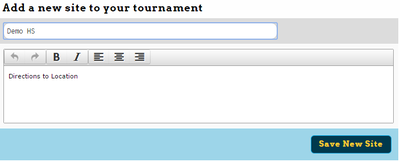
Or, you can create a new site by giving it a name, and if available, directions to the location:
Sites you have already linked to your tournament will appear in a list:
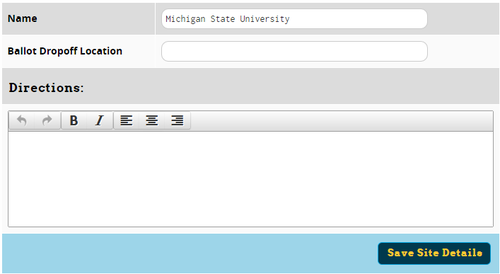
You can remove the site from your tournament by clicking "Remove," or you can edit the site details by clicking "Edit Site," which will let you set a name, ballot drop-off location and edit the directions to the site:
Edit Room Lists
Once you have added/created a site, you edit the room list for the site by choosing it from the sidebar:
You can then edit rooms that have already been entered, add new rooms, or import your room list from a file:
To add new rooms, go to the "Add New" tab, and fill out a name for each room. You don't need to fill out every blank link. Each time you Press "Save New Rooms" you'll be given additional lines for more rooms:
Optionally, you can include a number for Quality and Capacity, and any notes about the room, e.g. "Air conditioning broken."
"Quality" is any number greater than zero, where 1 is the "best" room(s), and is open-ended. Ties are allowed. So, for example, you could make all your largest rooms in the best building a 1, decent rooms in a different building a 2, and the basement rooms you only want to use if necessary all a 3. You can have as many "tiers" as you want. When trying to auto-assign rooms, Tabroom will use all the rooms with a better "quality" rating first, then move on to the next highest number, until it finishes or runs out of rooms.
Once you have entered rooms, you can edit their information on the "Edit Rooms" tab:
You can also mark a room as "Accessible," and toggle whether the room is active or not. Inactive rooms will not be used when assigning rooms to rounds.
Make sure to "Save Room Changes" at the bottom after making any edits.
Import Rooms From a File
If you have a large number of rooms, it can be easier to import the room list from a file instead of manually adding them all.
For the upload to work, your file must be in the correct format. You can create a plan text file by hand (using Notepad, for example), or export it from Excel as a "CSV" file. You cannot upload a Word doc or PDF - the file must be plain text or a CSV.
Your file should contain one room per line, is exactly this order: Name,Quality,Capacity,Notes
Only the room name is required; you do not have to specify a quality, capacity or notes - the simplest version of the file would just be a list of room names, 1 per line. Leave fields blank but mark them with commas if you want to use later ones; so if you want to set capacity but not quality, put an extra comma in to leave the Quality field "blank" like this: Room 214,,100, Ratings for quality and capacity must be numerical; there's no upper bound.
Here's what an example file would look like for a few rooms: A101,1,30 A102,1,30,No windows A201,2,15 A202,3,15 B100,1,100,Auditorium
Alternately, you could just use the room names, one per line - and then enter the other fields into Tabroom by hand.
Make sure you don't use any commas or single/double quotes in your room names or notes, or the rooms won't import correctly.
Once you have your file, go to the "Import From File" tab, click the Choose File button to select your file, and then "Upload."
Other Room Functions
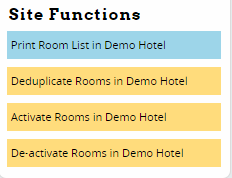
Once you have added rooms, there are a few helpful functions in the sidebar:
To print a PDF of the complete room list at a site, click the "Print Room List" link.
If you accidentally ended up with duplicate rooms during the creation/import process, you can de-duplicate them by clicking the "Deduplicate Rooms" link.
You can also active or deactive ALL rooms at a site by clicking the links on the sidebar. This can be useful if you want to start from scratch and ensure only the rooms you want are set to Active.
Creating Room Pools
A "Room Pool" is a subset of rooms at a site that are used by one or more event. This is helpful to avoid accidentally double-scheduling a room, and for keeping events in the same set of rooms throughout the tournament instead of moving around at random.
At most tournaments, you'll want a separate room pool for each event/division.
Important Note - A room can be in more than one pool at the same time. For example, if you're using a room for LD during one timeslot, but Extemp during another. Since Tabroom lets you have overlap, you'll need to make sure you've set up your schedule correctly, and haven't double-scheduled a room in two different events during the same timeslot.
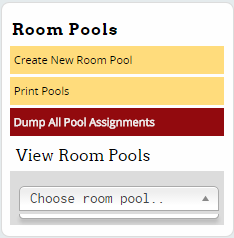
To create a room pool, click the "Create New Room Pool" link on the sidebar and then give it a name:
To view a pre-existing room pool, use the "View Room Pools" menu on the sidebar. You can also use the "Print Pools" link to generate a PDF of all your room pools.
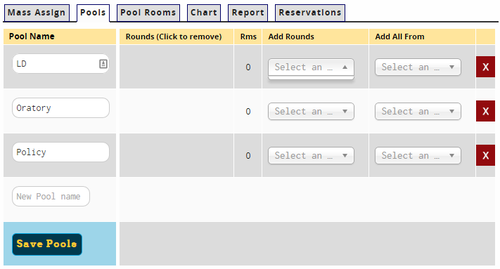
You can also view your list of Room Pools in the Paneling menu, by going to Paneling - Rooms, and clicking on the "Pools" tab:
Once you have created a pool, you will be automatically taken to the screen to add or remove rooms from the pool. You can also access this screen by going to Paneling - Rooms, clicking the "Pool Rooms" tab, and choosing which pool to edit. Note that you will use the Paneling menu to set up room pools, even for events that don't use the Paneling menu to create schematics, e.g. non-IE events.
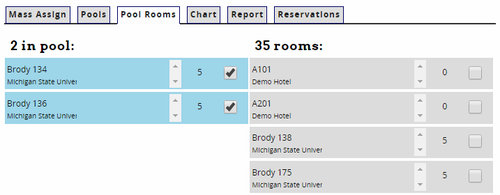
For each pool, you will see a list of rooms. Check the box next to a room on the right to add it to the pool - it will turn blue. Or, you can clone the rooms in the pool from another pool with the link on the sidebar. Rooms that are already in the pool will be listed on the left - uncheck the box to remove them from the pool. Note that rooms will not change sides until you reload the page - but if they're blue, they're in the pool:
Assigning Rounds to a Room Pool
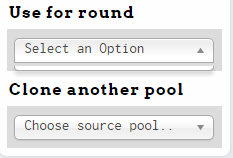
Once you have assigned rooms to pools, you can assign certain rounds to use that room pool by selecting it from menu on the sidebar. Make sure that every round is assigned to a room pool - otherwise Tabroom won't know where to pull from when assigning rooms:
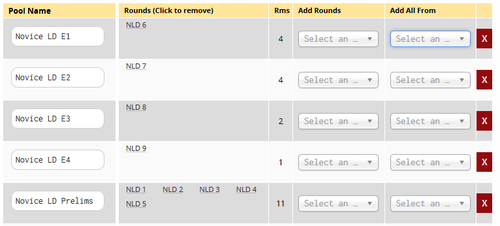
You can also see which rounds are assigned to a pool on the "Pools" tab. For example, you can create a separate room pool for each elimination round, so that you collapse down to only the rooms you want to use later in the day, or to ensure you don't use some rooms after a certain round:
If you need to dump all room assignments and start from scratch, use the "Dump All Pool Assignments" link on the sidebar. You will be prompted to confirm, and then all rooms will be removed from all pools.
Room Reports
The Paneling - Rooms menu contains several other useful pieces of information about rooms. The "Chart" tab shows you a list of all rooms for the Timeslot and Site you choose:
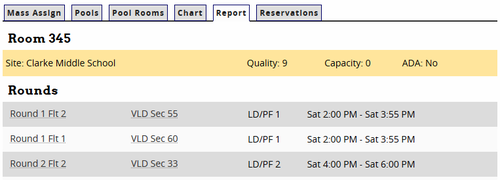
The "Report" tab shows you information about individual rooms, including which rounds are scheduled in that room and which room pools the room is in:
Reserving Rooms
Under Paneling - Rooms, the "Reservations" tab lets you assign a room to a particular judge, for example if a judge has a mobility issue and needs to stay in the same room all day. Choose a judge group from the sidebar, and then select a room to assign the judge:
Note that if you reserve a room for a specific judge, that room will be unavailable for anyone else, even when that judge isn't judging.
Managing Accessible Rooms
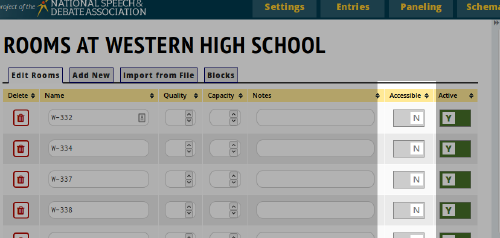
To reserve a range of rooms for those needing accessible rooms, first select rooms that are accessible by marking them under Setup -> Sites & Rooms. The switch under the column headed "Accessible" will declare a room as accessible.
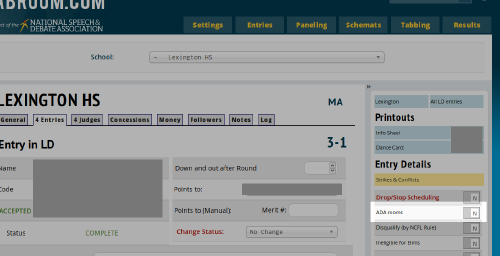
Then mark entries (or judges) from their entry screen as requiring ADA rooms on their entry or judge information screen. There is no need to hit save after toggling the ADA switch.
After doing this the computer will do its best to keep the entries in those ADA rooms and where possible make it so they do not move rooms between rounds. There are a couple of conditions that might prevent that; if two ADA entries are to compete against each other, obviously one will have to move. The room will have be available in a pool for a round. The system will use ADA rooms for ADA entries first in a given event, but does not avoid using an ADA round when sectioning Extemp if you have an ADA entry in LD.
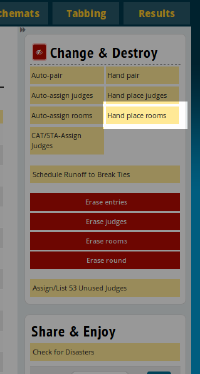
It's not a bad idea to check ADA rooms are being used properly. The function for "Hand-place rooms" is the easiest way to do so. Go into that screen on the pairing under Change & Destroy:
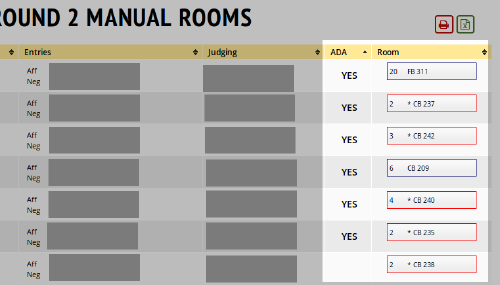
And then you can sort by the "ADA" column by tapping on the yellow column header to see which rooms have either a judge or entry that needs ADA accessible rooms. The rooms marked as accessible will show up as outlined in red. You can shuffle and reassign rooms as required on this screen by simply dragging and dropping the rooms to debates.
